Is your farm located in New Jersey? Are you a member of the Jersey Fresh program? We have the perfect solution to let your customers know which products you have that are “Jersey Fresh”.
Every registered farm on FarmTab.com that is located in New Jersey will be able to add the “Jersey Fresh” logo to their products that fit the program criteria.
How to add the Jersey Fresh Logo
Under the product information section there is a checkbox to add the Jersey Fresh logo to your product
When you add a new product, there is a section labeled “Product Information”, all New Jersey farms will have an additional checkbox that reads “Is this product Jersey Fresh?” with the “Jersey Fresh” logo next to the checkbox. Simply click this checkbox to label your product “Jersey Fresh”, update or publish your product and you are good to go!
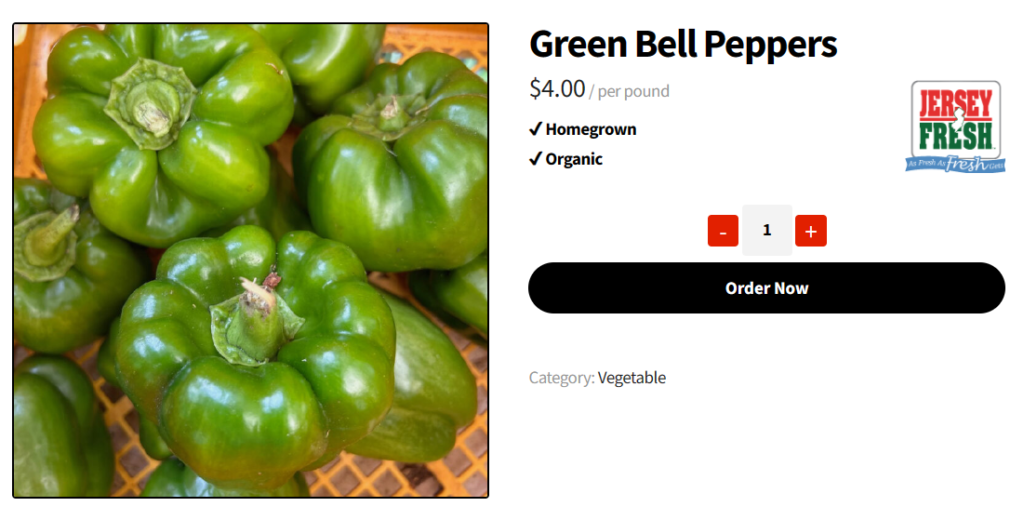
The Jersey Fresh logo will appear in the right hand corner of the product name area
Once you have access to your “Farmer Portal” you can begin adding products to your FarmTab storefront. From your dashboard, on the lefthand side, you will find navigation links to begin setting up your profile, adding products, updating store hours, and more.
There are three types of products that you can create: Simple Products, Variable Products, and Subscription Products. Each product type provides its own use.
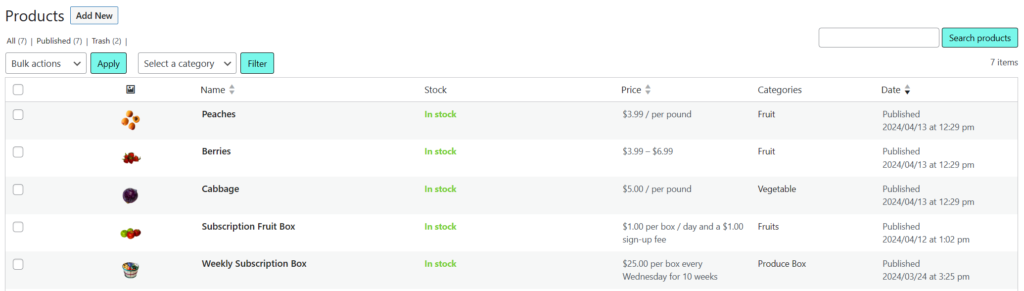
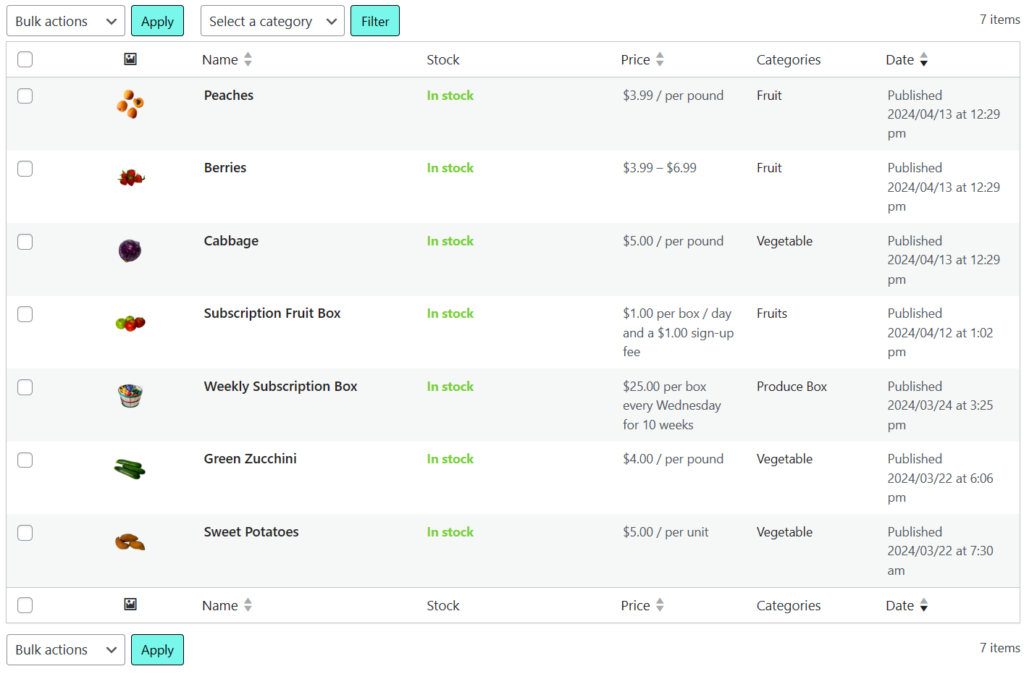
Products menu interface shows the items in your Product catalog
Simple Products:
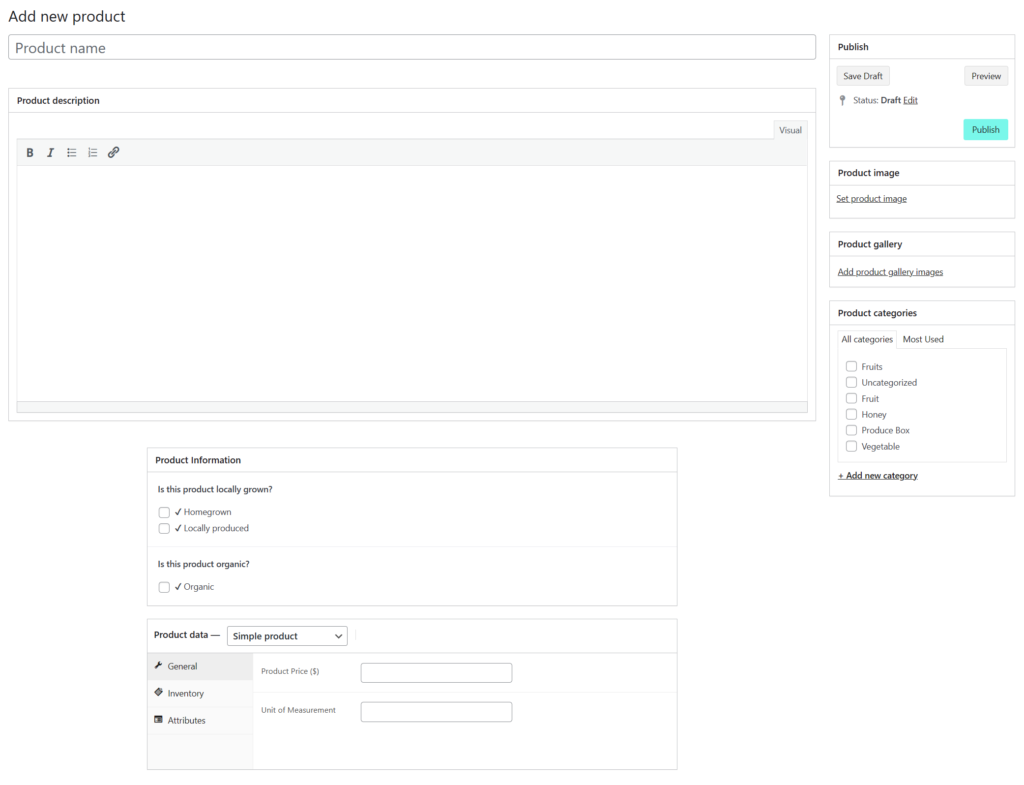
To create a simple product begin by visiting the “Products” tab found in the left-hand navigation of your Farmer Portal. From there select “Add New” to add a new product to your storefront.
This is the “Add New” product interface that lets you add product information and publish new products
A simple product is a product with one product option, it has one price for the product, and it is the easiest type of product to create and manage within your storefront.
Enter the product name
Product description to describe the product
Check-off the according Product Information: Homegrown, Locally Produced, or Organic
Fill out the pricing information under “Product Data”
Add a Unit of Measurement
You can also adjust the Inventory settings (in-stock, out of stock, or add the number of units in stock)
Variable Products:
To create a variable product, use the product options drop-down and select “Variable Product”. This will provide you with a different screen than the simple products.
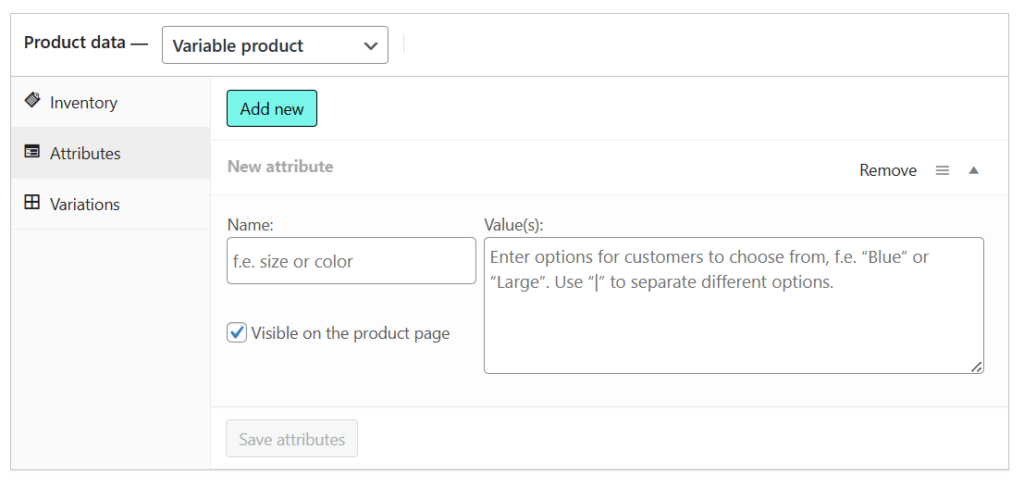
There are two sections that are important to variable products: the “Attributes” and the “Variations”. From these two sections you can add your attributes and pricing for your variable products.
Variable product options can be chosen in the “Product Data” dropdown menu
Attributes are created for each of the variations of your variable product. Enter the name of your attribute, then add values of your attributes proceeded by a “|”. For example, name your attributes “Variations of Berries”, then we will create values for each of the following berries:
Strawberries
Blueberries
Raspberries
Blackberries
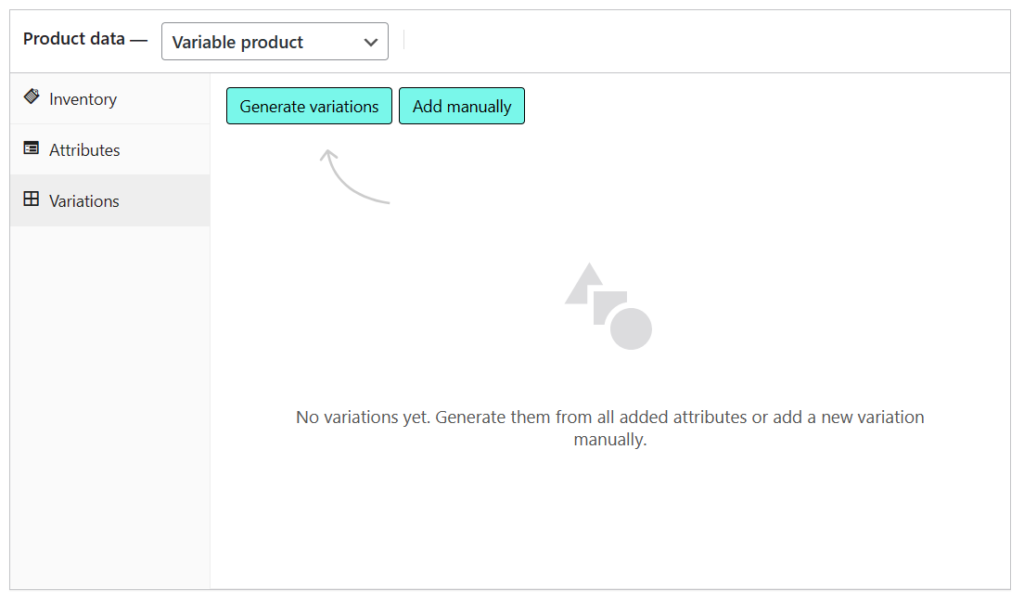
Once you have named your attributes and added values, click “Save Attributes”. Next you will go to the Variations menu option and select “Generate variations”. This will create product entry fields, allowing you to edit each of the attributes as products.
Generate variations allows your to automatically create variations out of the attributes you have entered
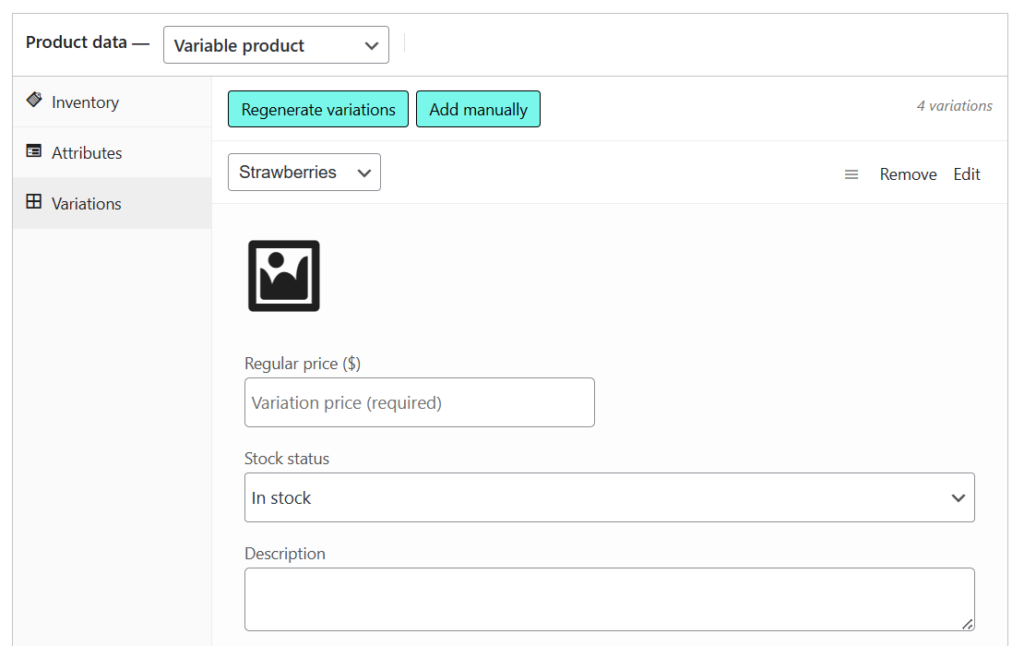
In this example, you can add different pricing, images, and in-stock information to each of your types of berries:
Strawberries cost $5.99 per pound
Blueberries cost $4.99 per pound
Raspberries cost $6.99 per pound
Blackberries cost $3.99 per pound
Enter your variation information for each variation of your product
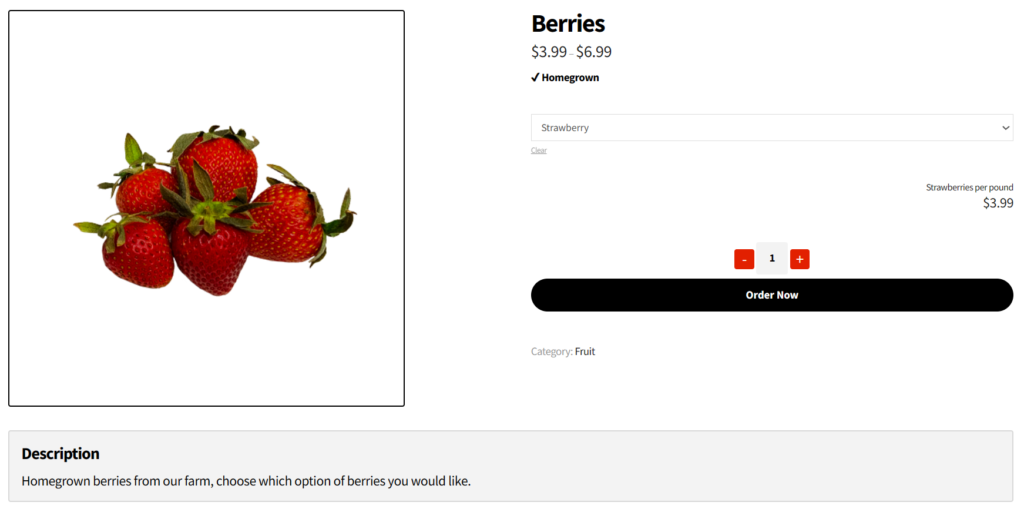
After you have entered the variable product information for each of the variations of your product, you can Publish your product to add it to your store. The variable product will have a drop down menu for customers to choose which variation of your product they would like to order.
A variable product has a dropdown selector for customers to choose from
Subscription Products:
Subscription products are created to have recurring payments. These products can be either simple subscription products or variable subscription products. The variable subscription products allow for multiple options of the subscription, just like the variable products.
To create a subscription product, use the product data drop down selection and select “Simple Subscription” or “Variable Subscription”. This will provide a unique screen to enter your subscription information.
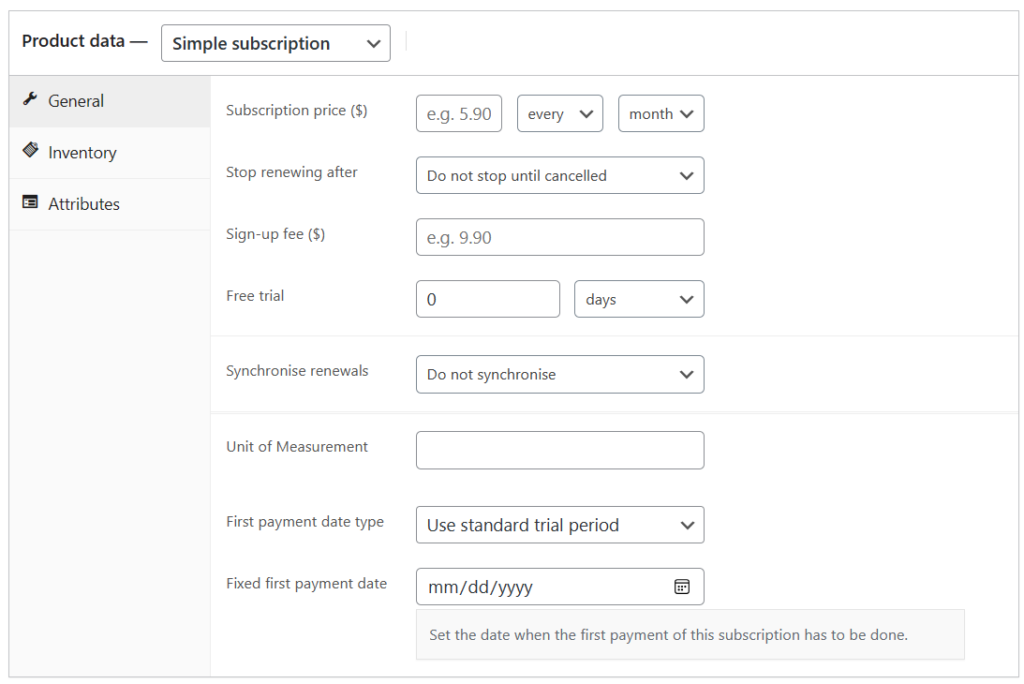
A subscription product has multiple information fields to control the pricing, duration and renewal period for the subscriber
With a subscription product you can choose the following options:
Recurring payment duration, for example: once every month or once every week
How long you want your recurring payment to last, for example: 5 months or 5 weeks
Sign-up fee, this is a fee that will be charged before the first subscription payment
Free trial period, this a period of time before the first payment
Synchronise renewals, this allows you to choose a day of the week or month when the renewal payment occurs, for example: every wednesday
First payment date, this is the date selected for the first payment of the recurring subscription
DoorDash Delivery Configuration
In your Farmer Portal you can edit your DoorDash hours by selecting the “DoorDash” menu option in the left hand navigation. Once you’ve selected your DoorDash hours you can now edit the hours for your DoorDash delivery.
Delivery Scheduling
This setting in the DoorDash menu allows you to choose between the following options for your storefront sales:
ASAP Delivery Only
Scheduled Delivery Only
Both ASAP and Scheduled Deliveries
ASAP Delivery Only means the delivery driver will arrive at your shop the soonest that is allotted based on your settings, the customer will not be able to schedule the delivery in advance. Scheduled Delivery Only means the delivery will be scheduled for a later date up to the amount of days ahead that are set. Both ASAP and Scheduled Deliveries means that the customer will have the option to have their delivery arrive as soon as possible or be able to schedule the delivery in advance.
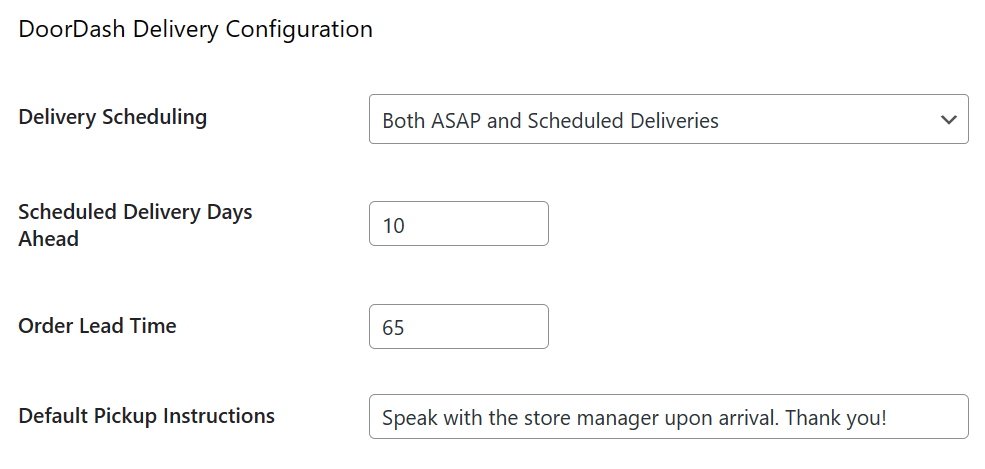
Configure DoorDash delivery methods, order lead time, and pickup instructions from your Farmer Portal
Scheduled Delivery Days Ahead
In this section you can add the number of days a customer can schedule a delivery in advance. The schedule will allow customers to only choose from days that your store hours are open, if you set your hours closed on a certain day then a customer will not be able to choose that day for scheduled delivery.
Order Lead Time
This setting allows you to set the number of minutes in advance that a driver will be notified and arrive at your storefront for pick-up. This order lead time is set to 120 minutes by default. It is very important to remember that you should set the order lead time based on the amount of time it would take for you to pack an order for the customer.
Default Pickup Instructions
This setting allows for instructions to be set for the delivery driver when an order is placed. When the driver receives a notification for an order the will see this message. You can use this as a message that lets the driver know who to speak to when they arrive, or where the pick-up area is for your location.
Setting your DoorDash hours
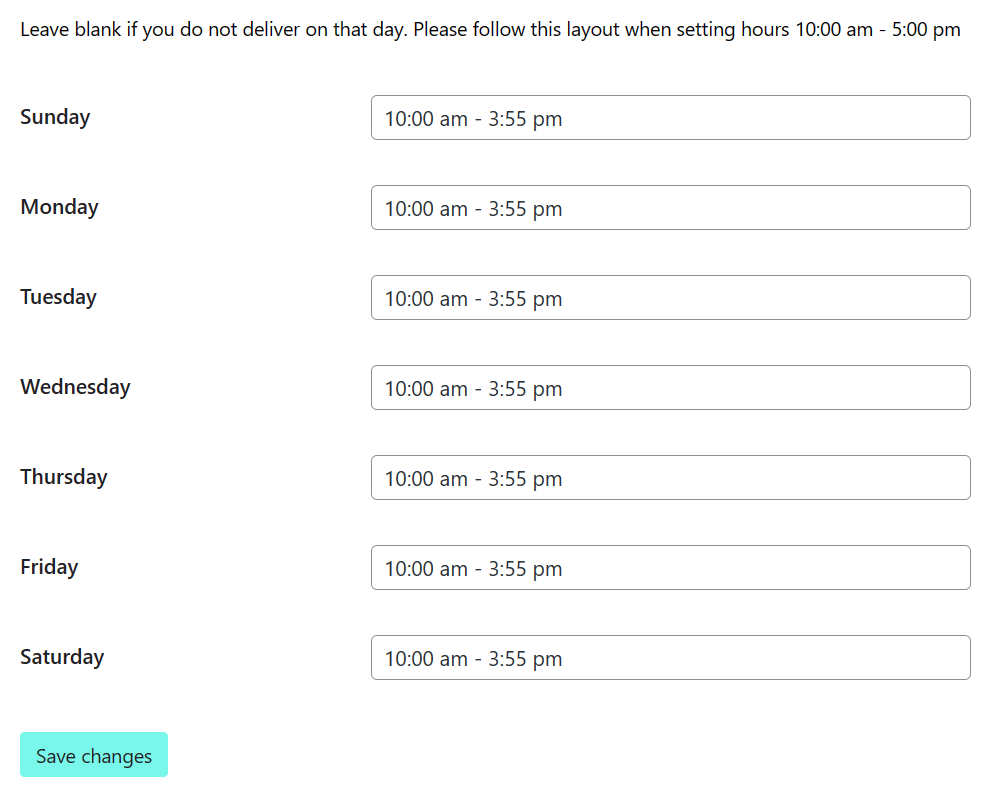
Choose your hours for each day of the week. Leave blank on days that delivery is unavailable for your customers. Follow this layout when setting hours, for example: 10:00 am – 5:00 pm
When the closing hour is set for 5:00 pm, and your delivery delay is set to 60 minutes, a customer can still place an order at 5:00 pm but the driver will be notified 60 minutes after the order is placed and will not arrive at your location until 6:00 pm. It is best to make sure that you account for this difference in lead time and closing time. If a customer places an order after the closing time, the DoorDash driver will arrive at your location the next time your store is open, at the opening hour.
Set hours for DoorDash delivery from your farm from your Farmer Portal
Recent Orders
From your “Farmer Portal” you can review your customer Orders and customer recurring Subscriptions by visiting the Recent Orders menu item. Locate the Recent Orders menu item in the left hand navigation menu section.
Orders
In the Order section you can review a list of the customers who have placed orders from your FarmTab storefront. You can filter through your orders by order number, date the order was placed, status of the order, or total amount spent for an order. There is also a quick view option, to quickly view the order details.
Orders interface lets you sort through customers orders
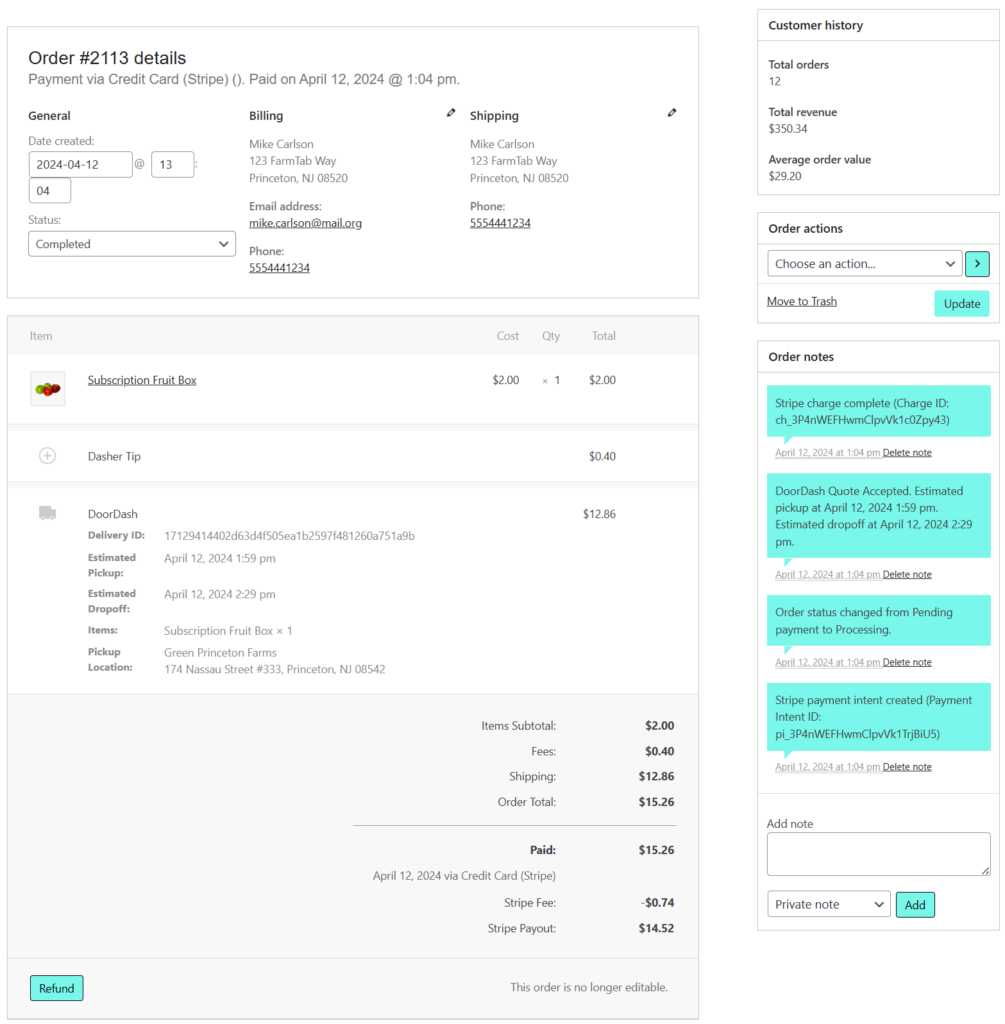
When you select an order to review, an Edit Order screen will appear. Here you can review the customers order details, update the customers information, order information, process refunds, add notes to the order, and resend order notifications to your customer.
Review each order in detail, such as the amount of the order, the customer information, and add order notes
When an order is placed with the DoorDash shipping method, you will be able to review when the DoorDash quote is accepted by the DoorDash driver in the Order Notes section. This will also display the estimated dropoff time for your customer’s order.
In the order notes section there are two different types of notes that you can add:
Note to customer: this note will be sent to the customer. This is helpful if you need to get in touch with the customer because of an issue with their order.
Private note: this is a note that is kept private but added to the order for you.
When an order is placed, the status of that order is set to “Processing” this means that you have received payment for the order from that customer but are processing the order internally. Once you have processed the order, make sure that you are able to fulfill the order, and are ready for pickup or delivery. You can update the order to “Completed” once the customer or delivery driver has picked up their order. There are several other status updates that you can use for customer orders:
Canceled
Refunded
Failed
Delivery Picked Up
Delivery Returned
Draft
On Hold
The status of the order can be manually changed. In the instance DoorDash shipping was selected on a customer order, the DoorDash driver will arrive at the Estimated Pickup time regardless of if the order is still set to “Processing”. If you ever run into an issue where you are unable to provide the DoorDash driver with enough time to pickup the order please reach out to our customer support via support@farmtab.com.
Subscriptions
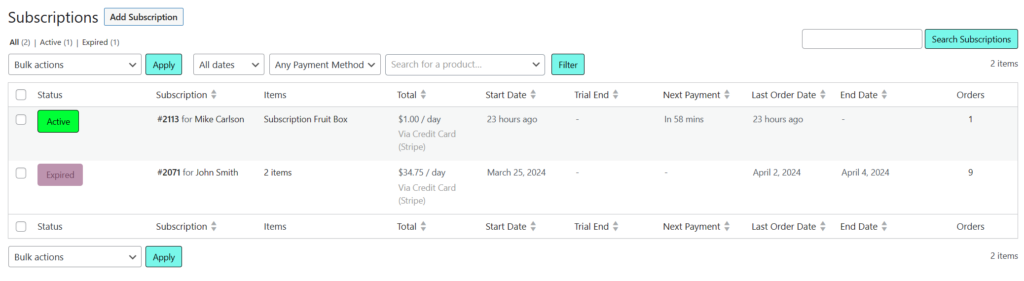
Review the status of active and expired subscriptions in the Subscriptions menu interface
Similar to the Orders interface, the Subscriptions interface displays all of the Subscriptions that customers have ordered. You can filter through your subscription orders by subscription order number, total amount spent for subscription, start date, trial end, next payment, last order date, and end date. From this interface you can also suspend a subscription or cancel the subscription entirely.
By clicking on the order number, you can view more details about the customer subscription. You will see a similar interface to the Orders interface but can review more detailed information about the subscription relating to the order. You can review the Schedule of the order, subscription notes, and related orders.
In addition, you can add items to the next order in the subscription timeline incase you would like to include more items for the customer. This will allow you to include the price of each item added and have the customer charged for those additional items on the next payment date.
Update the schedule of the next payment for your customers Subscription order
To update the schedule of delivery, as well as update the status of a customers Subscription, choose from one of the following options:
On Hold: this temporarily pauses the subscription until the subscription is re-set to “Active”
Canceled: this cancels the subscription, no more payments will be made when set to “Cancelled”
Renew: this allows you to make an “Canceled” or “Expired” subscription “Active”
Expired: this removes the remaining recurring payments from the subscription and cancels it entirely
Lastly, by clicking the parent order number (example: #3412), you can review the subscription as an order and make necessary updates to the subscription as a whole.
Sync Inventory
In your Farmer Portal you can use our Sync Inventory feature to add products directly to your storefront with the click of a button from your Square account. Within the “Sync Inventory” menu item found on the left hand navigation in your Farmer Portal you can begin by updating your Square Settings.
Square Settings
Connect with Square to begin syncing to your FarmTab product catalog
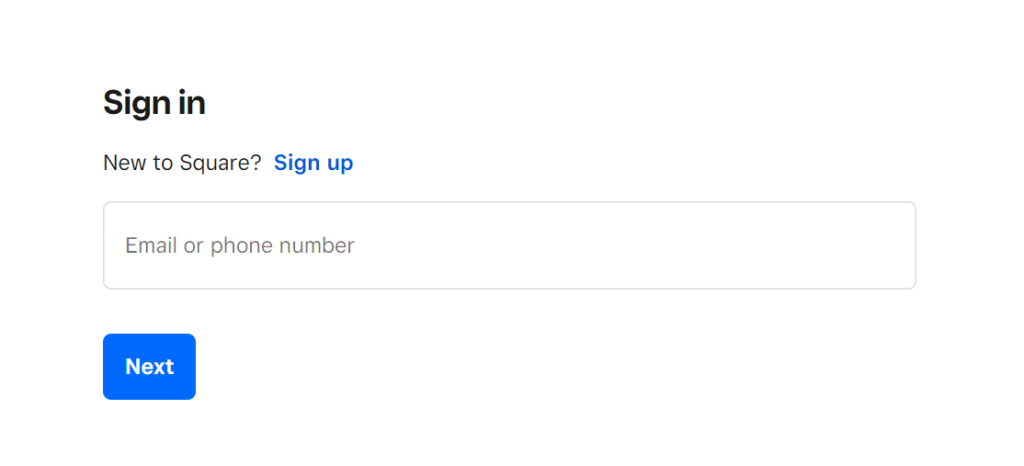
Begin connecting your Square account by clicking “Connect with Square”. This will navigate you to a Square login screen where you can enter your credentials to connect your account.
After your click “Connect with Square” enter your Square login information
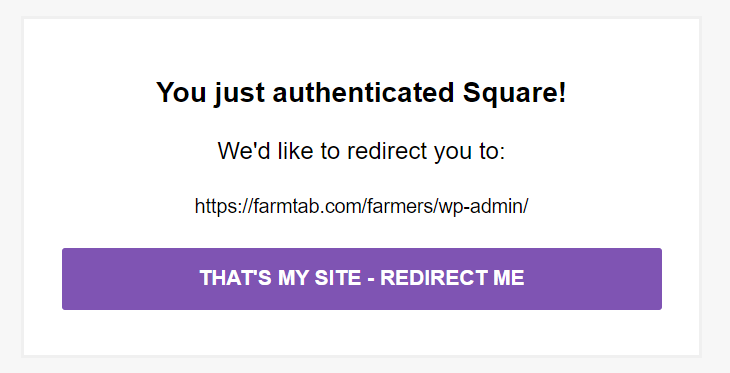
Once you have successfully logged into Square another screen will appear where you will have to Authenticate your storefront. Click “That’s My Site – Redirect Me” to successfully connect your storefront.
Once you have successfully enter your information you will be able to connect your Square account to your FarmTab product catalog
After successfully connecting your Square account to your FarmTab storefront, you will be presented with a handful of options and settings to choose from:
Business Location: This setting allows you to choose which Square business location you would like to import your products from. Only active locations that support credit card processing in Square can be linked
Sync Settings: This setting allows you to choose from the following sync methods
Square: this syncs the products from your Square account into your FarmTab product catalog
WooCommerce: this syncs the products from your FarmTab Products catalog to your Square account
Do not sync product data: this disables the sync feature from either account
Sync Inventory: This setting allows you to fetch the inventory of each of your products from your Square account to your FarmTab Products catalog
Override product images: This allows you to update your FarmTab Products catalog images that match the products synced from your Square account
Handle Missing Products: This setting allows you to hide products in your FarmTab Products catalog that are not found in your Square account
Sync Interval: This setting allows you to choose how often your FarmTab Products catalog is synced with your Square account, to search for updates to existing products or find new products to add to your catalog
Import Products: By clicking the button “Import all products from Square” you will automatically sync the products from Square into your FarmTab Products catalog
Connection: By clicking the button “Disconnect from Square” you will disconnect your Square account from your FarmTab storefront and will no longer be able to sync your products
Edit your Square sync settings appropriately
Square Sync
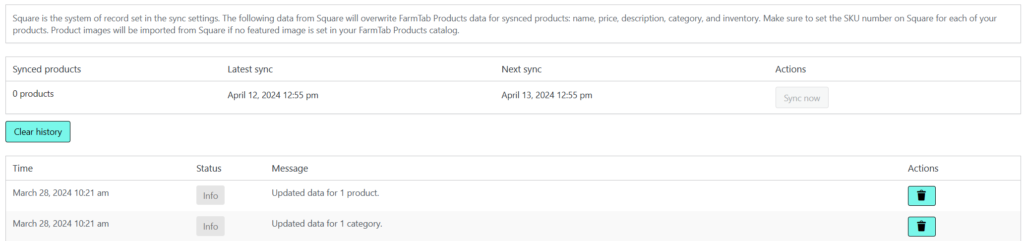
The Square Sync interface will display the products that have been synced. You can manage these products by viewing how many products were synced, when they were synced latest, and review alerts for products that were not synced properly and need attention.
Review all products that were synced from your Square account
Bulk Actions, Saving as Draft
Let’s say you have created a products in your Products catalog that you no longer want to display on your storefront for your customers. You can use the Bulk Actions tab found at the top and bottom of your Products catalog to save these products as a draft.
Bulk Actions
At the top and bottom of your Products catalog you will see a drop down field labeled “Bulk Actions”
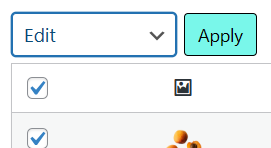
The Bulk Actions section is a drop down menu that lets you update products by selecting the checkbox in the left hand field. Once you have selected the checkbox of the products you would like to edit, choose from the following options in the Bulk Actions drop down:
Edit: this allows you to save these products as a draft or publish them to your storefront
Move to trash: this allows you to place these products in the Trash folder and remove them entirely
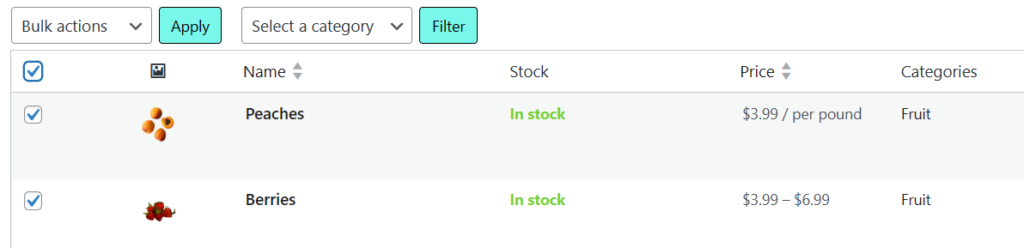
Use the checkbox on the lefthand side of each product to choose which products you would like to edit or trash
Saving as Draft
After checking the products you would like to update, choose “Edit” from the Bulk Actions drop down and click Apply.
To update these products choose Edit from the Bulk Actions dropdown section
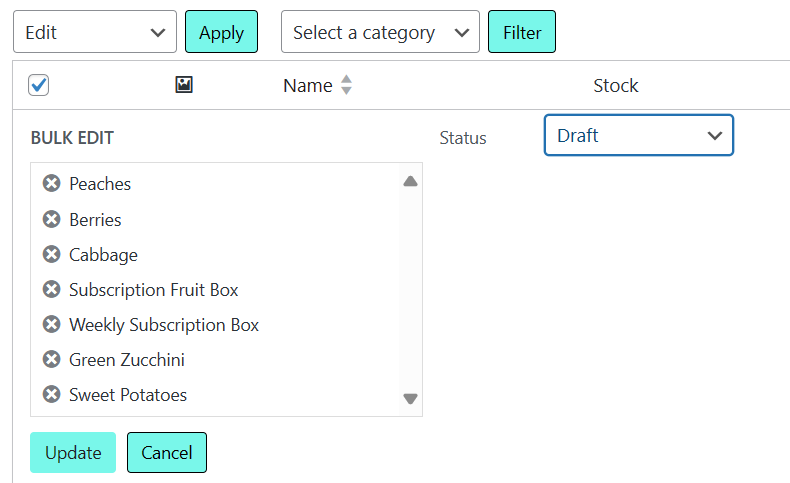
You will see two sections, one section allows you to update the selected items, and the other section is another dropdown section labeled “Status”. In the Status section you can choose from “Publish” or “Draft”. By selecting draft, then clicking “Apply” this will update these products and save them as a “Draft”.
You can use the Status dropdown to choose how you would like to update these products. Select Draft to save these products as a Draft.
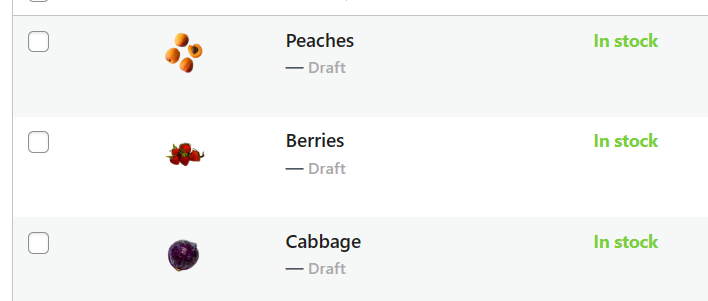
A Draft product will no longer be displayed on your storefront, but you can return to the product, make updates to the product, and publish the product when you are ready to begin selling this product on your storefront.
You will see which products are saved as a Draft by the label provided underneath the name of each product
Multiple locations for DoorDash delivery
Lets say you have one main farm location that you grow and sell produce to customers, but you also attend farmers markets in various locations around your area. You can add these additional locations as pickup locations for DoorDash delivery.
Add pickup location
In your Farmer Portal dashboard, on the lefthand side menu, under the DoorDash menu item, select “DoorDash Locations”. From here you can review the locations you have enabled for DoorDash delivery pickup. Click the “Add pickup location” to add a new pickup location.
Add pickup location at the top of the DoorDash Locations, each location can use custom hours and if the location is enabled it will be displayed to customers at checkout as an option for DoorDash delivery
Location settings
When you first create a Farmers account with FarmTab we will add the location of your farm that you provided when you first signed up. This location will automatically be enabled and can be reviewed to see how the location settings are formatted. The following location settings are as follows:
Location Name: name your new location something specific, for example: Farmers Market: Metuchen
Enabled: check this box if you would like to Enable this location for customers to choose from at checkout
Email Address: this will be the email that gets contacted when a customer places an order from that location
Phone Number: this will be the phone number that gets contacted when a customer places an order from that location
Pickup Instructions: here you can explain to the driver what to do when they arrive to pickup a customers order
Enter the address for the location: Make sure to fill out this field correctly! There are a few things to keep in mind:
Address 1 (and 2 if applicable) should be filled out using the exact street address of this location
State: use only the two-digit initial for the state, for example if this location is in New Jersey, you would fill out this section with “NJ”
Country: like the state, only use the two-digit initial corresponding with the country. For all United States locations use “US”
Enter the location settings and follow the instructions included in this tutorial to create a new location for DoorDash delivery pickup
Custom hours
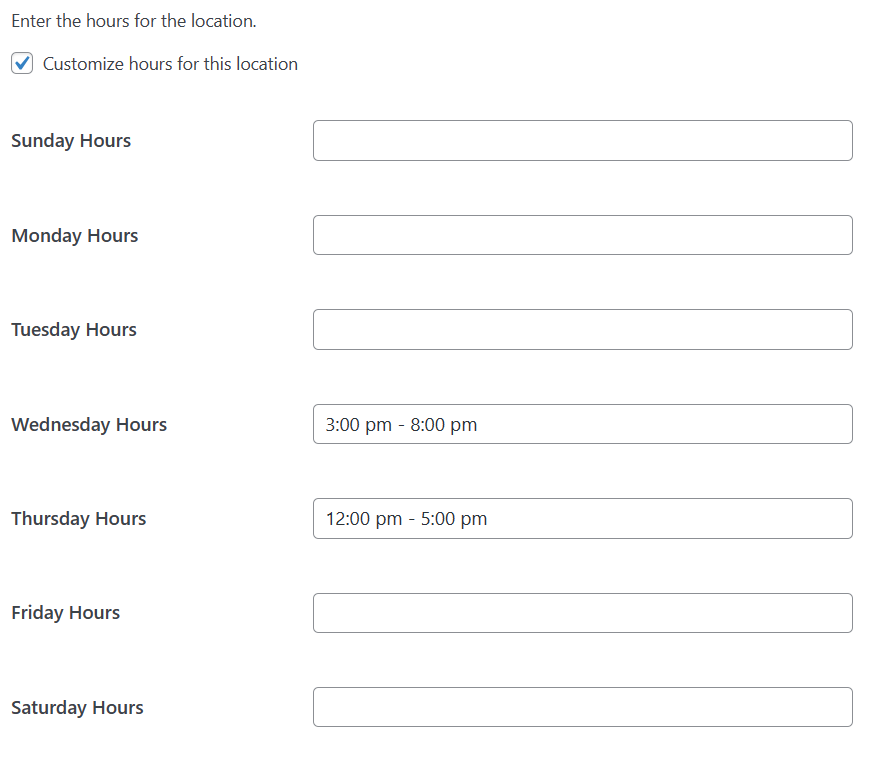
In the DoorDash Settings menu you will have already set your hours that customers can receive DoorDash delivery. If this location has separate operating hours you can add them separately by selecting the “Customize hours for this locations”. Here you will be able to add the hours for the days that you are operational at this location, make sure to follow this format when adding hours:
3:00 pm – 5:00 pm (a space after the hour, add am or pm, a space followed by a “-“, followed by a space then ending with the closing hour with am or pm)
Don’t forget to account for your order lead time, the lead time you have set in the DoorDash Settings will apply to all locations
Add custom hours to your new location, these will be delivery days an hours that a customer can receive the delivery from this location
Once you have entered your information correctly then you can click “Save changes”. This will save this location, and if enabled, will show up as a location that customers can choose from at checkout.
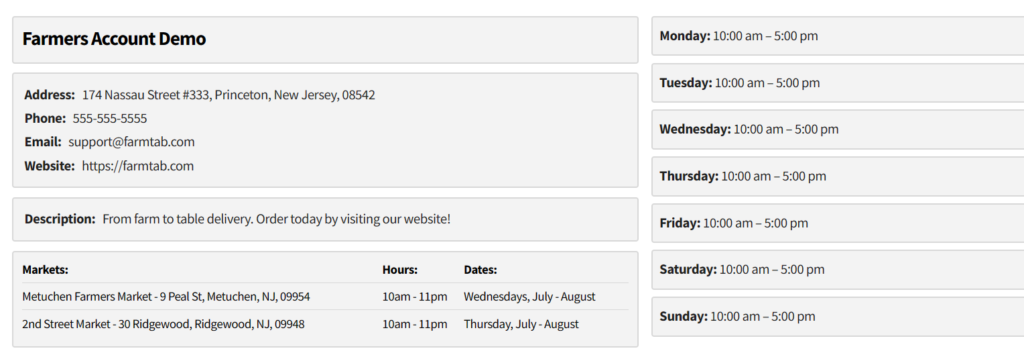
Edit Profile
From your Farmers Portal Dashboard, you can edit the profile that is displayed on your storefront for your customers. Visit the “Edit Profile” menu item on the lefthand side navigation in your Farmer Portal to begin editing your profile.
About
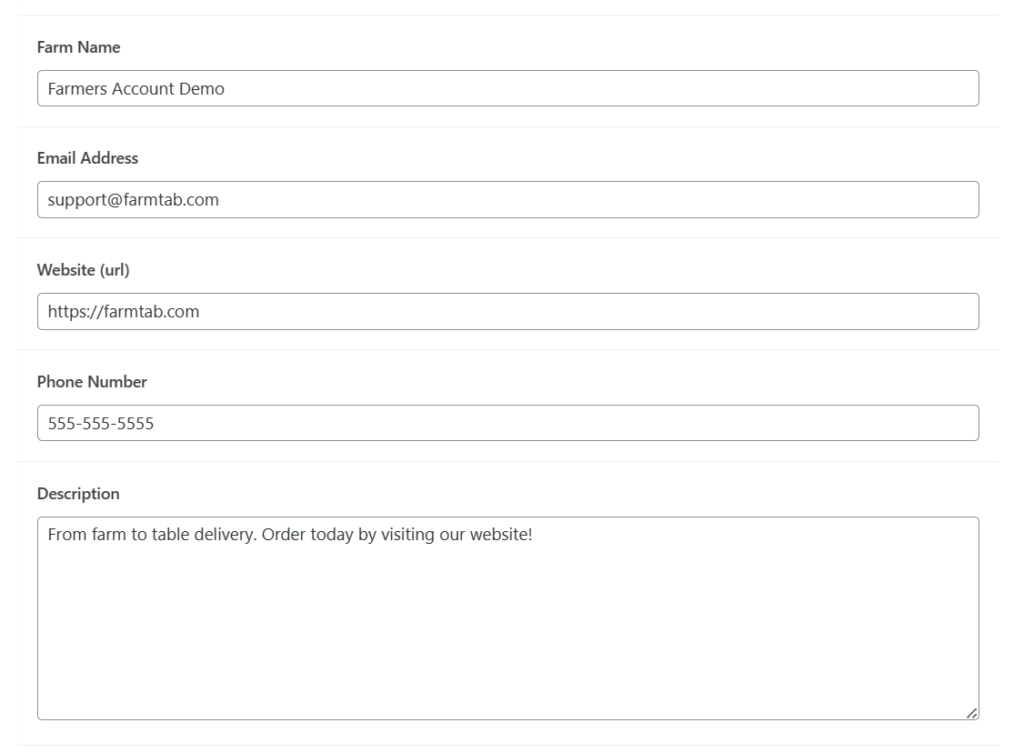
Enter your profile information in the according form fields
Farm Name, use this section to edit the name displayed for your farm
Email Address, use this section to edit the email address displayed for your farm
Website URL, use this section to edit the website displayed for your farm
Description, use this section to edit the description for your farm
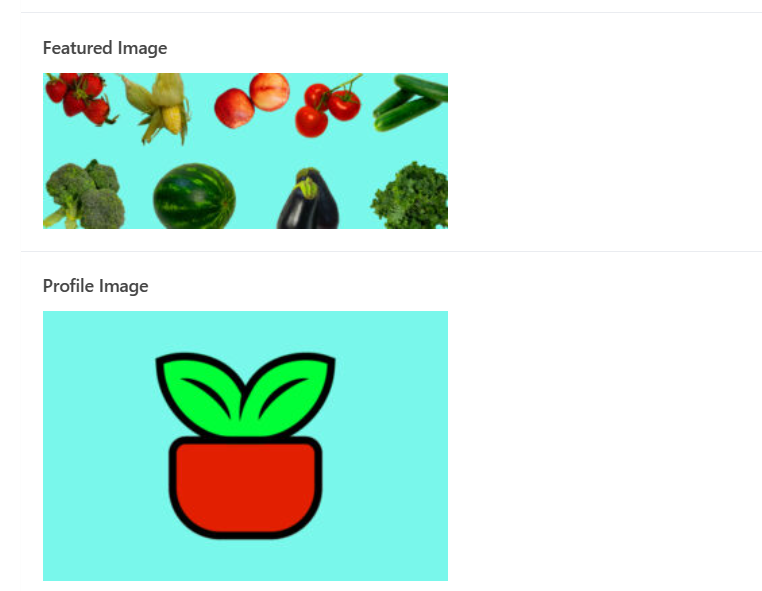
Featured Image, use this section to display a featured image for your farm
Profile Image, use this section to display a profile image for your farm
Add a profile image and featured image to your profile
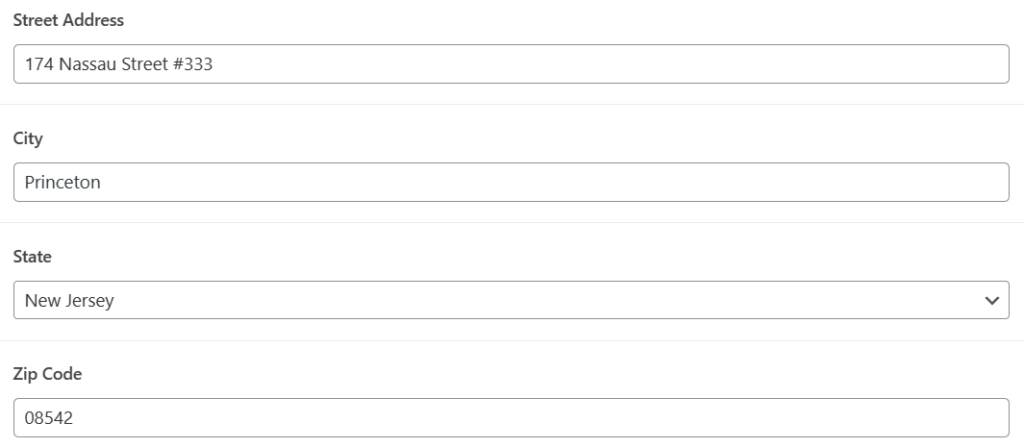
Farm Address
Update your farm address for customers
Street Address, use this section to edit the street address displayed for your farm
City, use this section to edit the city displayed for your farm
State, use this section to edit the state displayed for your farm
Zip code, use this section to edit the zip code displayed for your farm
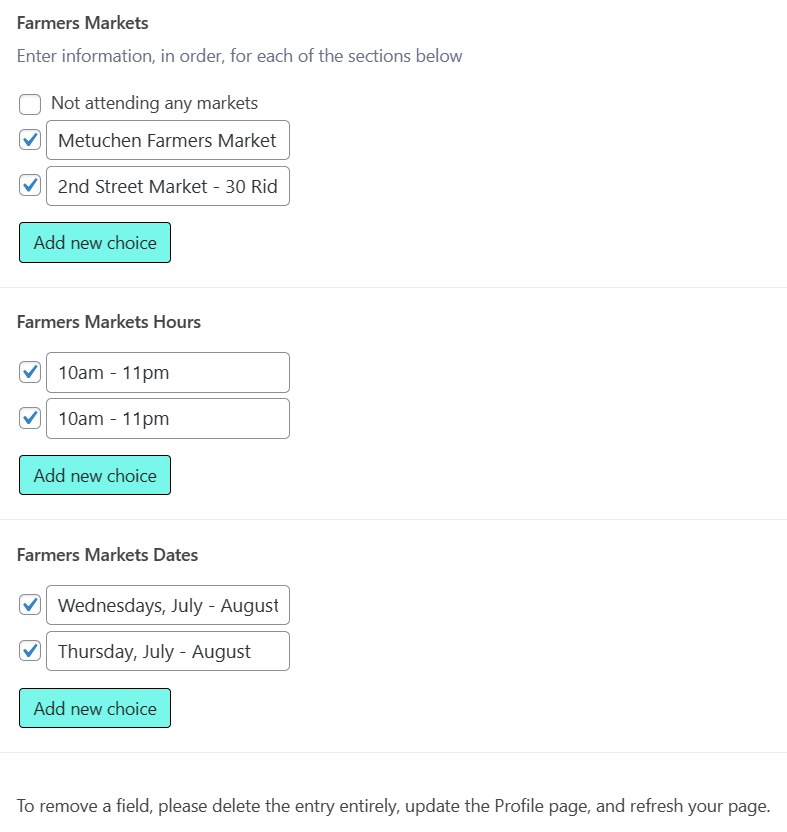
Farmers Markets
Add farmers markets to your profile
Add markets to your profile that you attend throughout the year. The default checkbox “Not attending any markets” is selected when you first register, if you do not attend any markets you can keep this box selected. When entering in market information make sure to enter the fields in order that you enter the name of the markets, select “Add new choice” to enter the information:
Farmers Markets: enter the name of the market into this field, you can also include the address of the market. For each market select “Add new choice”
Farmers Markets Hours: enter the hours that you attend the market, you can also add the days that you attend the market. Select “Add new choice” to define other markets
Farmers Markets Dates: enter the months that you will be attending the market (ex. July – October). Select “Add new choice” to define other markets
To remove a field, uncheck the field and delete the content, update your profile, and refresh the page.
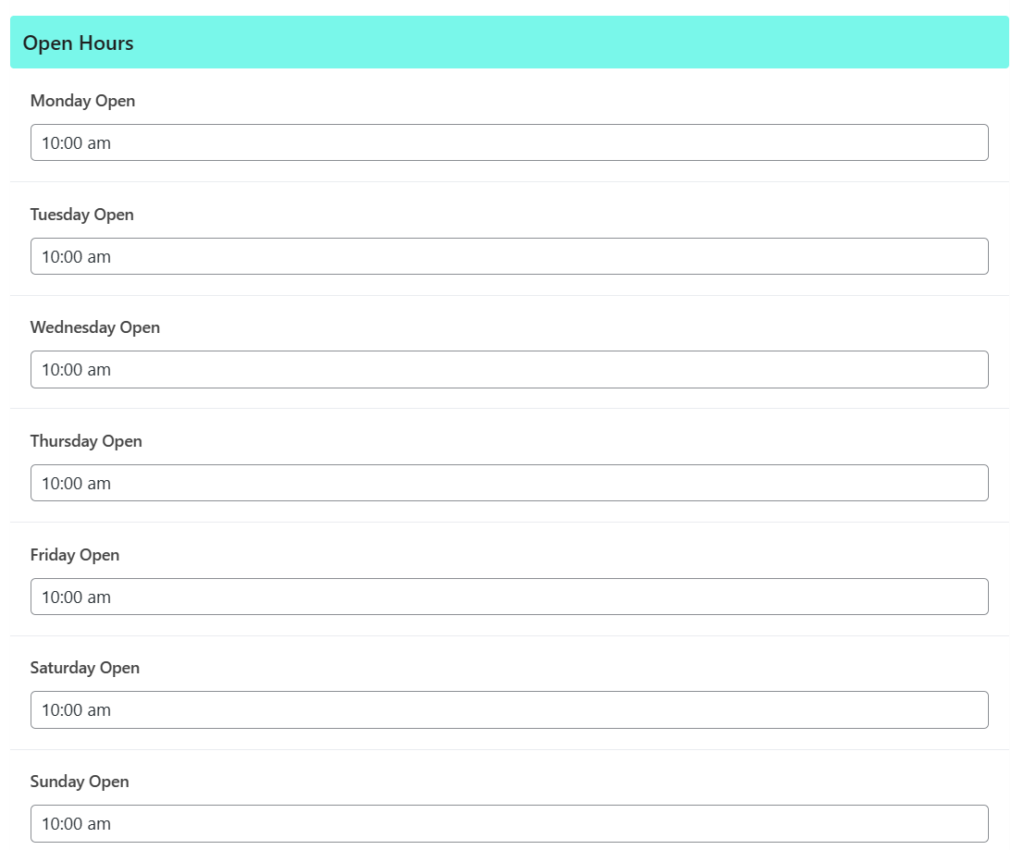
Open Hours
Enter the hours of operation that you are open
In this section you can add hours by typing the hour you open on the days that you are open. You can write “Closed” on days that are closed. This will be displayed on your profile page.
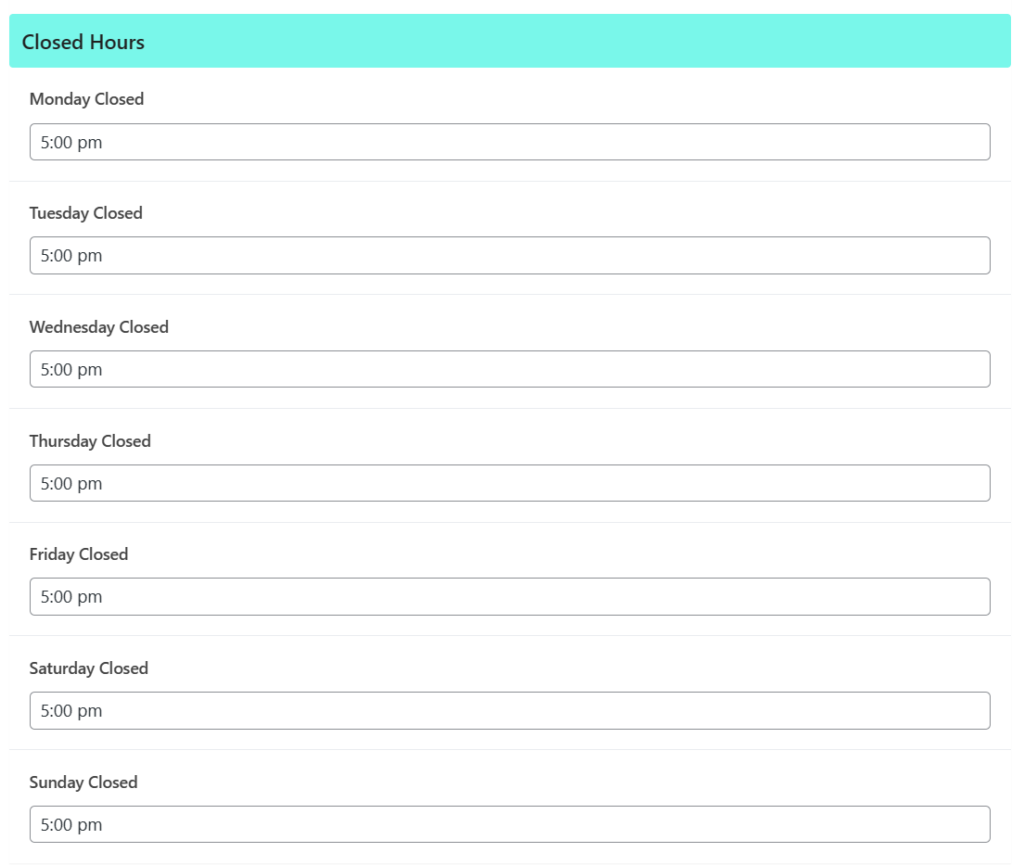
Closed Hours
Enter the hours of operation that you are closed
In this section you can add hours by typing the hour you close on the days that you are open. You can write “Closed” on days that are closed. This will be displayed on your profile page.
Update and Preview
Preview your changes after you have updated your information successfully
Once you have completed editing your profile page you can select “Update” in the top right corner of your Edit Profile page. Once the page updates you can preview your updates by selecting the update icon next to the update button.